Requirements
Background
Historically, users have used USD Stages in FlexSim to create a live connection with an Omniverse application to be able to simulate animations in Omniverse. However, this relies on a live connection between FlexSim and Omniverse. Sometimes this type of connection is sub-optimal for a user's situation. This article will explain a workflow for writing animation data to a USD file to play in an Omniverse application independent from FlexSim.
Disclaimer
All the data we record during this example is meant to help us write meaningful data into a .usd file so we can generate an animation in USD Composer. When I say "animation", I mean positional and rotational data along with showing/hiding flowitems. If you want to see Operator Skeletal Animations, I'll post a similar article with a few tweaks later to showcase how to do that using USD Composer's Sequencer, which uses Tracks and Asset Clips to handle small-scale skeletal animations.
Example Model
I've built a sample model demonstrating the changes to the USD API and how to use them. This example model is just one way to use the API -- there are other ways that users are free to explore.
Explaining the Model
When you open the model, you'll see a few different windowpanes.
In the top-right corner, you'll see a Global Table. If you reset the model, you'll see column headings appear. Each column is a different piece of data we'll be writing to the USD Stage. Each row is a different entry of data to write.
In the center views, you'll have a 3D view on the left side and a Process Flow (PF) on the right.
At the bottom, there's a script window with a few lines of code. Those lines of code are User Commands I defined to summarize the functionality they encapsulate.
The 3D View
In the 3D view, you should see some queues, processors, operators, and conveyors. This is a simple workflow where items come into the queues, operators move them into the processors for processing, and then the operators send them down the conveyor lines.
With this model, we'll demonstrate (1) operator movement and (2) flowitem movement on conveyors.
Setting Up the USD Stage
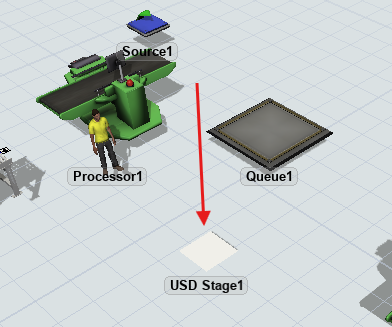
There should be a "USD Stage1" present in the model.
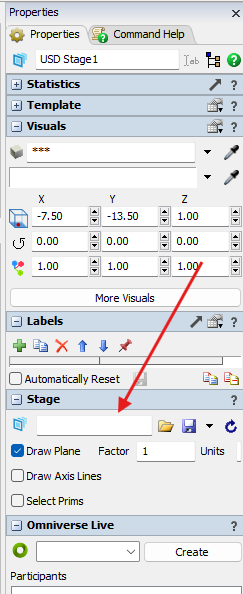
If you click on the USD Stage, its properties will appear on the right-side of the screen.
In it, you'll see a blank edit field. This is where you put the path to the USD file you want to work on have appear. If you want to save a fresh one, while the edit field is blank, click the "Save" icon next to it. Once you select where you want to place the file, name it, and close the file explorer popup, the edit field should populate with the full path to the .usd file.
For more info, you can check out the docs page on the USD Stage object.
Viewing the Model in USD Composer
Once you've saved your USD Stage, you can open the .usd file in any software that can view .usd files. For this demonstration, we'll be using NVIDIA's Omniverse application which as a USD Composer module.
The Process Flow
Open up the Process Flow tab to view the simple setup. I'll walk through each part of the PF to give you an idea of how it works.
Operator Movement
This block of PF is in charge of recording information about Operator positions and rotations. It records information whenever an Operator starts and ends a task. You can expound on this concept and record information when specific triggers or events happen, but for this example I kept it simple and record when any task happens.
User Command: RecordInfoToTable
Within the "Record Info" Activity, it calls a User Command to record information to the table. This function simply takes a token as the first parameter. This is what the code looks like:
- Token token = param(1);
- // Setup row for this iteration
- Table animInfo = Table("AnimationInfo");
- animInfo.addRow();
- int curRow = animInfo.numRows;
- token.labels.assert("Row", 1).value = curRow;
- animInfo[curRow]["Object"] = token.operator;
- animInfo[curRow]["AnimTime"] = Model.time;
- animInfo[curRow]["TaskType"] = token.taskType;
- // Record positional and rotational data
- Object operator = token.operator.as(Object);
- animInfo[curRow]["PosX"] = operator.location.x;
- animInfo[curRow]["PosY"] = operator.location.y;
- animInfo[curRow]["PosZ"] = operator.location.z;
- double Z = Math.fmod(operator.rotation.z, 360);
- if (Z < 0)
- Z += 360;
- animInfo[curRow]["RotX"] = operator.rotation.x;
- animInfo[curRow]["RotY"] = operator.rotation.y;
- animInfo[curRow]["RotZ"] = Z;
To summarize:
- Start by assigning the value of the token (parameter 1) to the local variable "token"
- We get a reference to the Global Table (AnimationInfo) and add a row for the data we're about to write
- Record (1) which operator this data is for, (2) what time this is happening, (3) and the type of task they're performing. The task type isn't as important - it's for finer details and debugging if necessary.
- Then we record the positional data of the operator. We previously saved the "operator" label onto the token, so we can use that and "cast" it to be an Object. We do this because the Object class has a "location" property which holds the x, y, z coordinates of the object.
- Lastly, we do the same thing with "rotation", except we need to bound the rotation to be a positive number between 0 and 360. To do this, we call Math.fmod() to get the reminder after dividing by 360. If the value is negative, we add 360 to get a positive value.
Running the Model
If you reset and run the model to the stop time at 200, you'll see the Global Table populate with data.
There should be valid data for all the columns except the last 3. The "BoxNum", "EntryConveyor", and "Show" columns are for recording flowitem data. We'll discuss that later.
Once you've got data in the table, we can run the User Commands in the script window at the bottom of the screen. They should be:
- ClearTimestampedData();
- return WriteToUsd();
The first one "ClearTimestampedData()" is used to loop through the operators and clear all their time-sampled data. We do this so no old data is used if you change things in the FlexSim model and export new data.
The second one "WriteToUsd()" is what reads the Global Table line by line, defines and finds prims, writes time-sampled data to them, and saves the information to the .usd file.
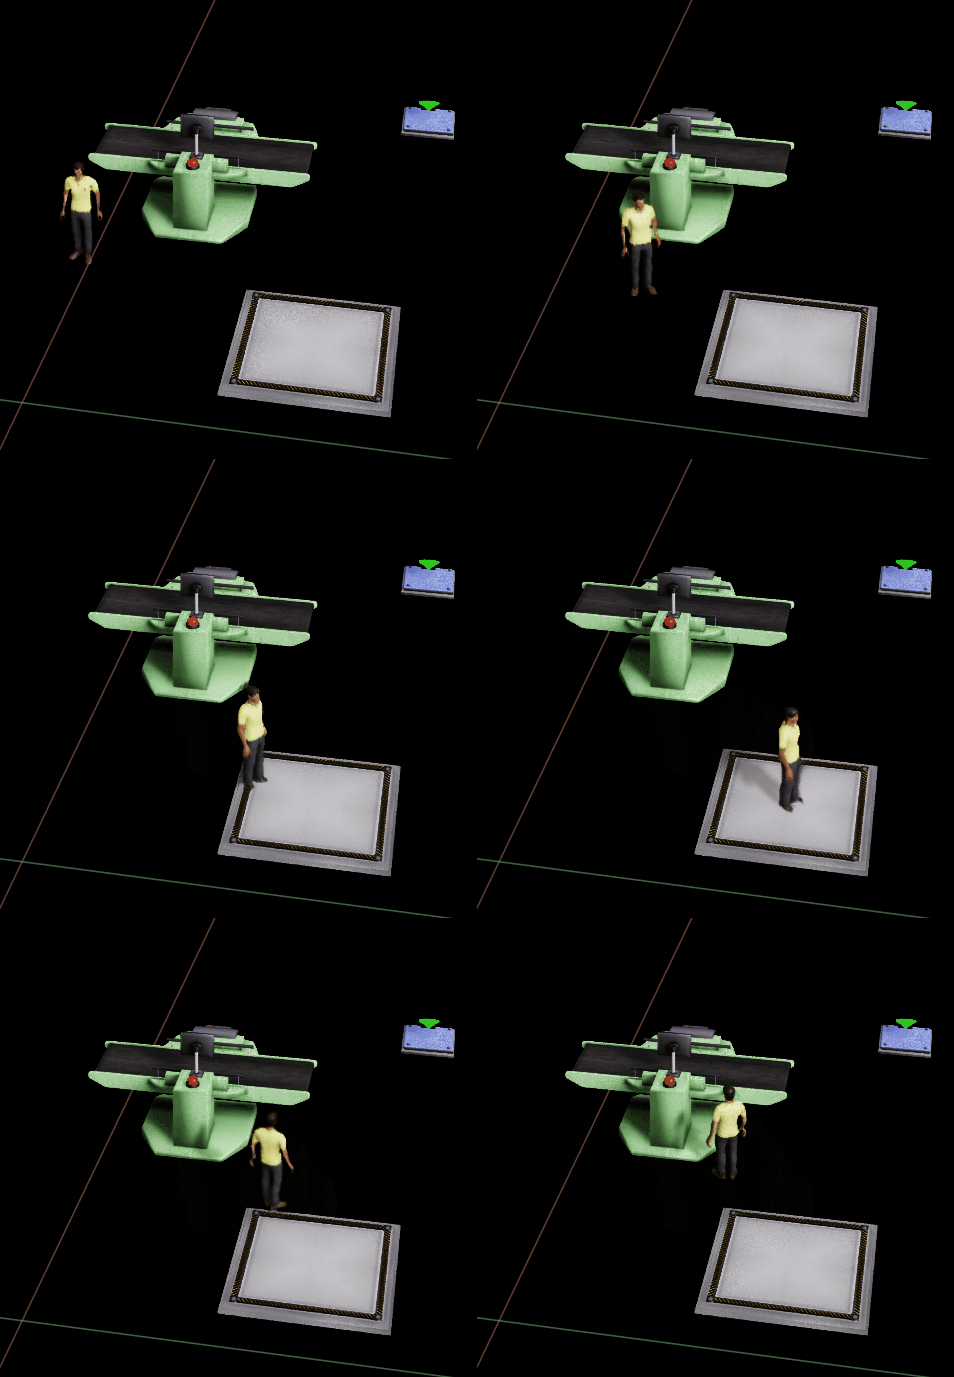
View the Animation in USD Composer
After running these scripts, you should get a prompt in USD Composer to "Fetch Changes". Fetch the changes. Then, open the Timeline feature (Window > Animation > Timeline).
This opens an animation timeline at the bottom of the screen. You can save predefined start and end times for the whole stage using the Flexscript API if you choose. Otherwise, you can change the settings manually in USD Composer. (I've color-coded the image below to help explain the tool.)
On the far-left (green circle) is the starting frame of the animation while the far-right (red circle) is the ending frame. The inner numbers allow you to set specific sections of the animation to play. If not set, it will play the whole animation.
The top-right value and blue "scrubber" (blue circle and arrow) denote the current frame. When you hit your space-bar (or click the "Play" button), that scrubber should move. The value next to FPS (yellow circle) represents the "Frames per Second" the animation runs at. If you want it to play faster, then you can set it to a higher FPS.
Note that this example model is built assuming 24 FPS. There is a User Command "TimeToFPS" that simply multiples the given Model time by a desired FPS, defaulting to 24 FPS. If you want to change that rate, you can set it in the code.
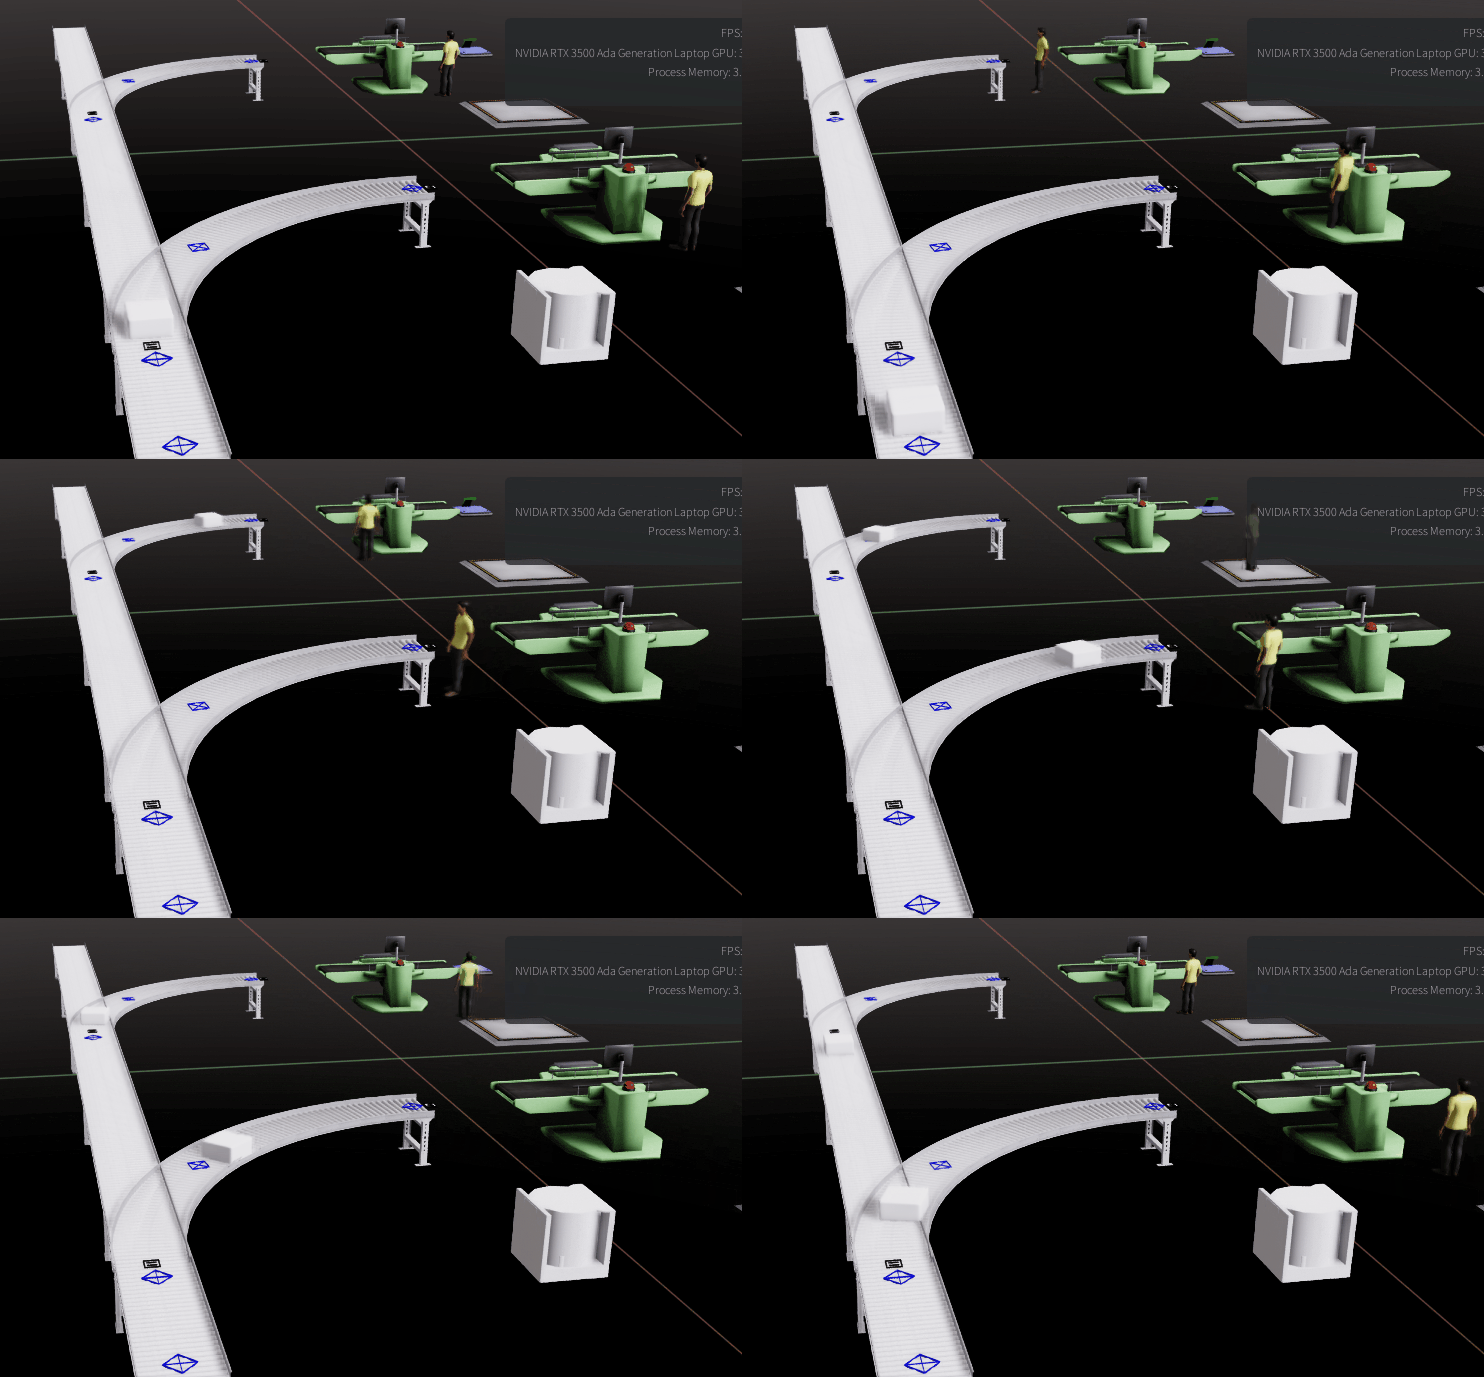
Now that we've got the animation timeline setup, hit play and watch the animation. You may need to adjust the animation range to be 850 to 4800 so you can see the movements.
Like I mentioned in the Disclaimer, if you want to see skeletal animations in the Operator, I'll have another article explaining how to add that functionality.
Add Flowitem Movement on the Conveyor
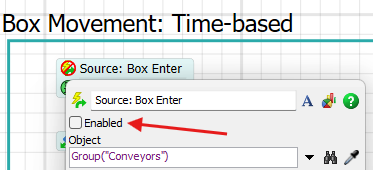
Let's go back to FlexSim and check out the Process Flow again. I have two other containers labeled "Box Movement: Time-based" and "Box Movement: DPs". These flows represent two different ways to record this data: either based on a time interval or based on Decision Point positions. The time-based way can be more accurate, but it adds much more time-sample data than the DP version.
Choose one of the versions to test out, open the properties of their Source, and then Enable it.
If you reset and run the model, you'll start seeing entries for Flowitems. They'll utilize the last 3 columns of the Global Table to keep track of (1) the Box# they are, (2) the Conveyor they entered on, and (3) whether or not to "show" their prim. Click here to learn more about prim visibility.
Run the scripts to export and save the model. Then, fetch and view the changes in USD Composer.
Conclusion
We've covered how to use some of the new features of the USD API in FlexSim 25.0 to create stand-alone animations in .usd files. We used FlexSim to record and export data to .usd files to then display in USD Composer. You can now play a standalone animation in USD Composer without a live connection to FlexSim.

