When installing FlexSim, has the installer ever quit, saying "Installation Cancelled" or "FlexSim must close"?
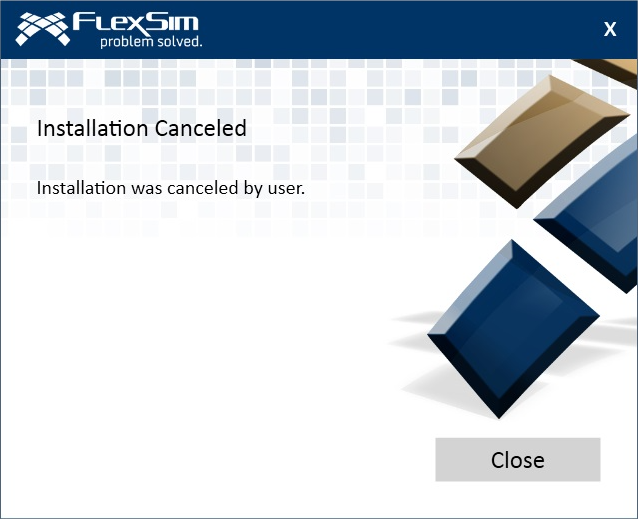
Installation Canceled Installation was cancelled by user.
Or has your FlexSim installation ever had errors upon starting the software?
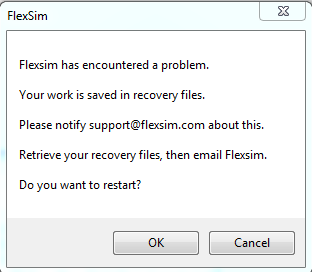
FlexSim has encountered a problem.
Your work is saved in recovery files.
Please notify FlexSim Technical Support.
Retrieve your recovery files, then email FlexSim.
Do you want to restart?
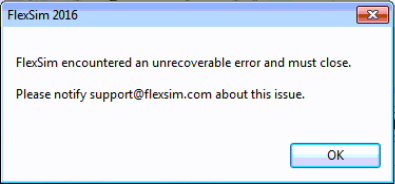
FlexSim encountered an unrecoverable error and must close.
Please notify FlexSim Technical Support about this issue.
This can be frustrating any time, let alone for a brand new FlexSim installation.
Here are some possible solutions that may help FlexSim install or start properly:
1. Meet the System Requirements
Make sure that your computer meets FlexSim's minimum system requirements. If your computer's hardware or operating system is out of spec, you may not be able to install FlexSim, or it may not start or work properly.
Don't overlook the disk space requirement. You'll need about 2.5 GB free for the installer and the completed installation in order to install FlexSim. Low disk space will cause the installation to fail.
Graphics specifications are particularly important, as incompatible/nonexistent graphics hardware or out of date graphics drivers may cause strange graphics behavior or other issues. See this article for more graphics considerations, tips, and guidance for installing or upgrading graphics drivers.
2. Windows Updates, Driver Updates
FlexSim relies on some newer Windows components and libraries provided by Microsoft in patches and updates. Make sure your computer is up to date with all Windows updates.
In addition to Windows updates, be sure to upgrade your system's graphics drivers, as FlexSim relies on fixes and features found in the latest graphics drivers from NVIDIA, Intel, or AMD. It is not enough to just use Windows Update to check for new graphics drivers - you should check the websites for your system manufacturer or graphics vendor specifically for updated graphics drivers. See our graphics article for more detailed information.
3. Reboot your computer
Windows has improved enormously over the years, but even with modern Windows sometimes a good, old-fashioned reboot can do the trick, especially if you have recently installed or uninstalled other software or Windows updates.
4. Run as Administrator
Software Installation: Ensure that you have the proper privileges on your PC to install new software.
Install FlexSim by right-clicking the installer file and choosing Run As Administrator. If you don't have admin rights, you will be prompted to enter credentials with admin rights. Enter the proper credentials to allow the software installation to proceed.
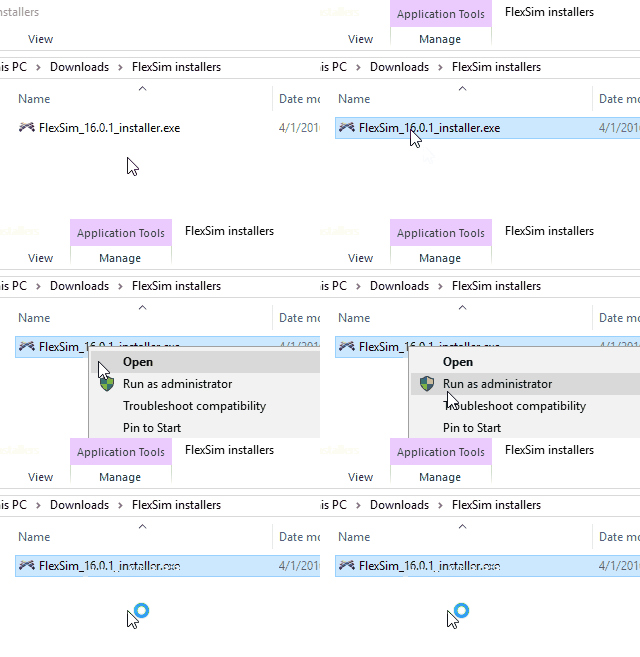
Startup Issues: Try starting FlexSim with higher permissions by right-clicking the program icon and choosing Run As Administrator. If you don't have admin rights, you will be prompted to enter credentials with admin rights. Enter the proper credentials and the software should start with elevated permissions. Does this solve the problem?
Some users have reported that some FlexSim components are blocked by default, but can run properly when FlexSim is started with elevated privileges.
If you find this is the case for you, work with your IT group to determine how to unblock the DLLs or other components required by FlexSim.
5. Delete FlexSim's saved settings
Sometimes when FlexSim has trouble starting up, it can be due to a corrupted prefs.t file. FlexSim's prefs.t file stores your FlexSim settings and preferences and is located at:
%APPDATA%\Flexsim\FlexSim <version>
The %APPDATA% address is a shortcut to your Windows user account's Roaming directory. This animation shows how to get to your %APPDATA% directory:
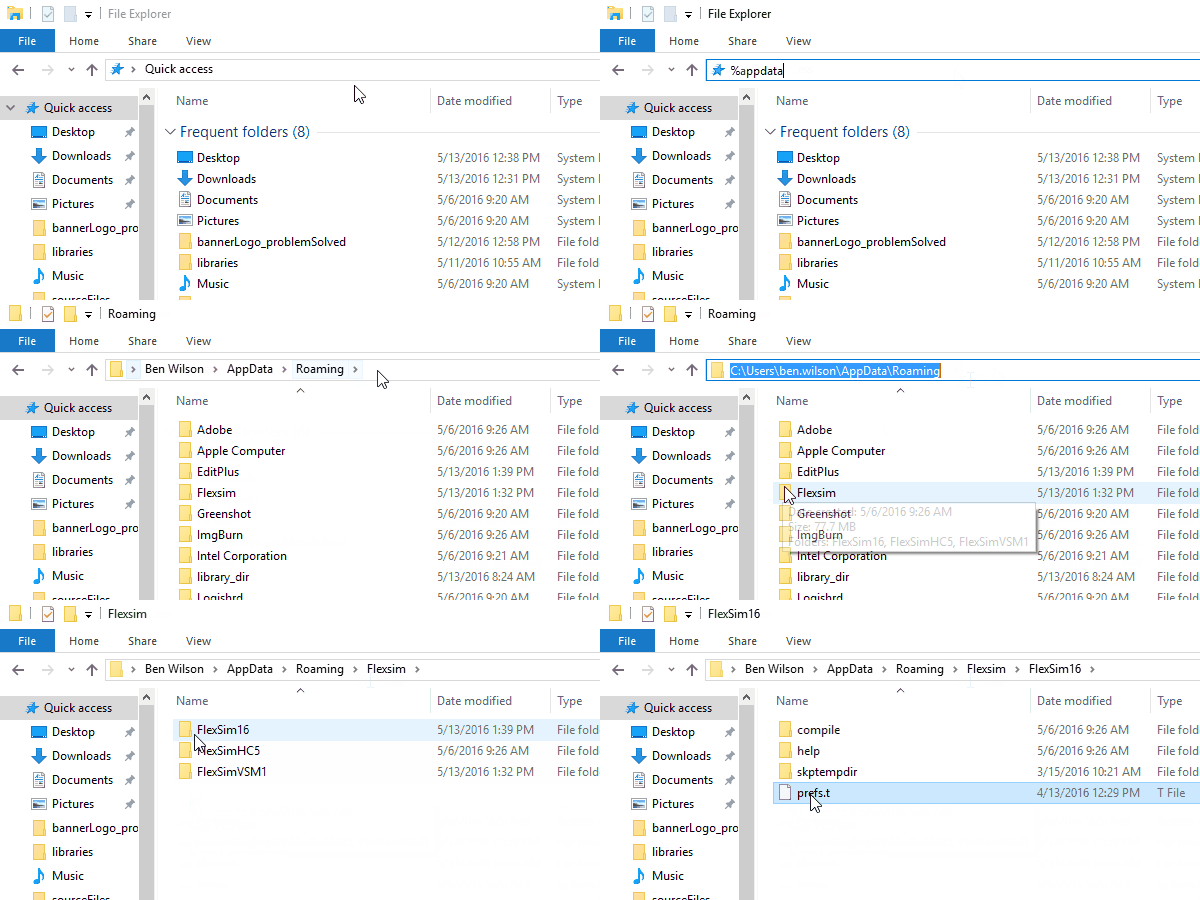
With FlexSim closed, delete this prefs.t file. Then try starting FlexSim. Are the problems resolved?
6. Reinstall FlexSim
Completely uninstall FlexSim and try a new installation. It may be worth downloading a new copy of the full installer to ensure there was no corruption in the install package.
You could also try the .msi installer, instead of the .exe. When installing using the .msi you can save a log of the install process. This could help with debugging if there are still problems.
Whichever method you use when reinstalling FlexSim, be sure to right-click the installer and choose to Run as Administrator (see the Run as Administrator section above).
7. Update your computer's .NET installation
FlexSim relies on Microsoft's .NET Framework for some functionality. Windows 10 includes a compatible .NET version, or if a compatible version is missing the FlexSim installer will try to download and install .NET directly from Microsoft. If your computer/network does not allow this you may need to update .NET yourself. Click here to download the .NET framework directly from Microsoft.
After installing the .NET Framework, please revisit the Windows Updates section above. Microsoft may provide new security fixes that should be applied to your .NET installation.
8. Reinstall Microsoft Visual C++ Redistributable
These are run-time components provided by Microsoft that are required to run FlexSim. Normally these components are installed during FlexSim's installation process. If FlexSim is encountering errors, it could be caused by a broken or out of date C++ redistributable. Click here to download the latest Visual C++ Redistributable directly from Microsoft.
After reinstalling the Visual C++ Redistributable, please revisit the Windows Updates section above. There may be new security fixes for the redistributable.
9. Antivirus
We have seen instances where FlexSim is blocked by an overzealous Antivirus software. If FlexSim doesn't start up at all, despite a new installation, this could be the case.
To test this, temporarily disable your antivirus and try to install or start FlexSim. If the problem clears up then your antivirus may indeed be blocking FlexSim. In this case, work with your IT department to configure the appropriate settings to allow FlexSim to run alongside your antivirus solution.
Remember to re-enable your antivirus software after this test.
10. Windows Event Viewer
If FlexSim still won't install or start, try checking the Windows Event Viewer to see if there are any errors related to installing or starting FlexSim. If so, please send those our way so that we can troubleshoot further. In case you've never used it before, here is a tutorial covering the Event Viewer.
Add your comments below on what did or didn't work for you, other problems or symptoms you encountered, or tips and tricks that helped you solve them.
Fixes for older versions
The following suggestions apply to outdated versions of FlexSim.
Update OpenSSL DLLs
Applies to FlexSim versions 7.0.0-20.2.0 (excluding LTS versions 20.0.9+)
Some older FlexSim installations may crash shortly after FlexSim opens, when FlexSim's start page contacts our remote servers for dynamic content, due to a new system incompatibility with the openssl library that shipped with these older FlexSim versions.
Newer versions of FlexSim include updated files that resolve this problem. Install the latest version of FlexSim to obtain updated versions of the following two files:
- C:\Program Files\FlexSim <version>\modules\Emulation\openssl\libeay32.dll
- C:\Program Files\FlexSim <version>\modules\Emulation\openssl\ssleay32.dll
Copy those updated DLLs to your affected FlexSim installation, under its program\Webkit folder, overwriting the older version of those files.
Alternate workaround: disconnect your computer from the Internet, both wired networks and Wi-Fi. Start FlexSim. Go to File > Global Preferences > Dynamic Content tab. Deactivate all of the options there. You can now reconnect to the Internet and FlexSim may work properly the next time you start the application.
Uninstall KB4571756
Applies to FlexSim versions 7.7.0-16.2.2
A Windows 10 patch released in September 2020 may prevent FlexSim versions 7.7.0-16.2.2 from starting.
If you are using one of these older versions of FlexSim and the program will not start, try removing this Windows update:
https://support.microsoft.com/en-us/help/4571756/windows-10-update-kb4571756

