How to create animation for flow item as it is passes three times in to & fro direction over processor length during cycle time? Thanks in advance for reply.
How to crate animation of flow item for multiple pass through processor ?
FlexSim 18.0.10
I built a small sample model to demonstrate how this can be done.
AnimationOnProcessor_18_0_fm.fsm
I took the following steps:
- Add a simple setup of Source -> Processor -> Sink
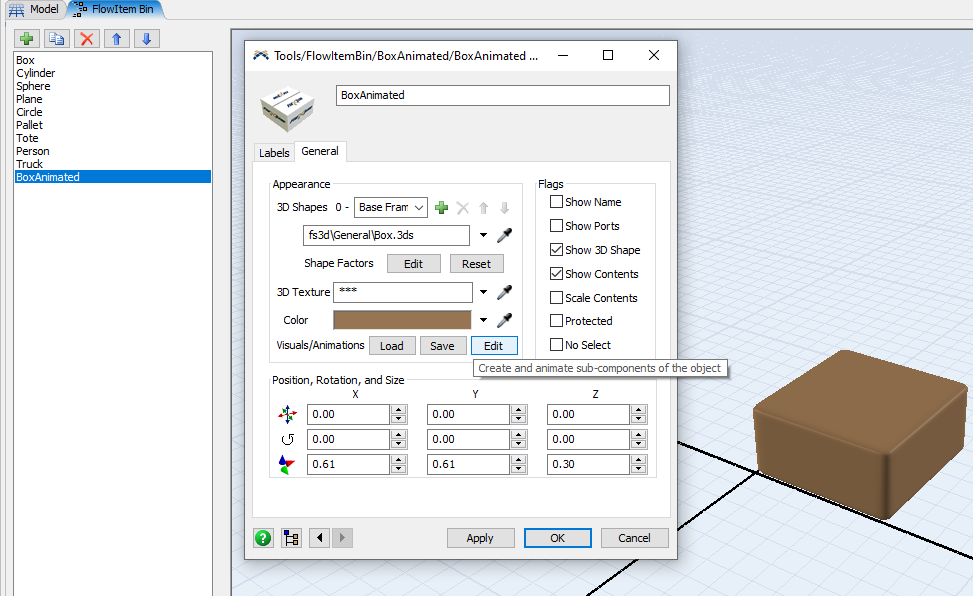
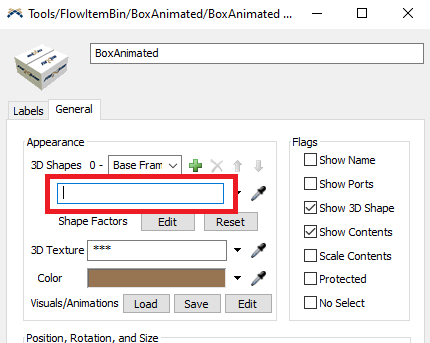
- Duplicate the basic "Box" item in the FlowItem Bin. I renamed it "BoxAnimated".
- Open the properties and click "Edit" under "Visuals/Animations" in the General tab.
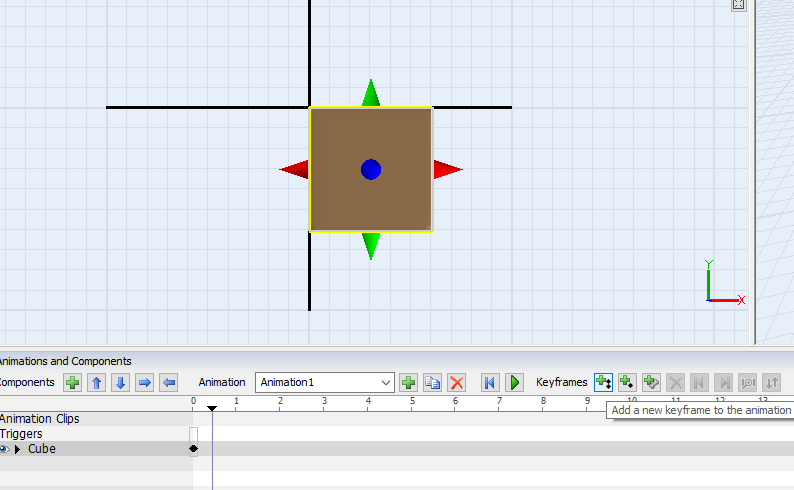
- In the window that opens, drag a "Cube" from the library into the model and resize it to be the same size as the original item and place it in the same location as well. This shape will visually replace the actual item later on.
- In the "Animations and Components" bar at the bottom add a new animation.
- With the cube selected, add a new "keyframe" at time 0.
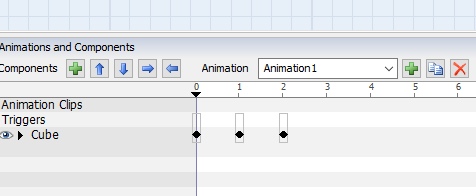
- Now move the item as far as it should travel on the processor and add a new keyframe at a later time (I chose 1s).
- Then, I move the cube back and add a third keyframe at 2s. When you hit run now, the cube should move back and forth between the two positions.
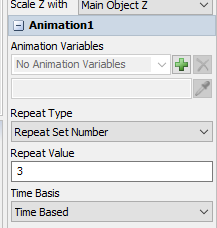
- In the properties on the right, under "Animation1" (or whatever else you named your animation), set the repeat type to "Repeat Set Number" and set the value to 3.
- Back in the properties window of the flow item, delete the path under "3D Shape", so only the cube you just added is drawn.
- Now we switch to the properties window of the processor. First, uncheck the "Convey Items Across Processor Length" option in the top right.
- Next, add two things to the "OnEntry" trigger: Set the x-position of the item to 0, and the other two values to the middle of the respective axis of the processor (Set Location). And tell the animation you defined to start (Start Animation).

If you now choose to create the newly defined FlowItem in the source, it will run its animation when entering the processor. The time the animation takes will probably not align with the process time though. This could be fixed by moving the keyframes of the animations, so its total time is equal to the process time, but there is an easier way.
When you open the code window of the "OnEntry" trigger, you will find the line
- object.animations[/** \nAnimation: *//***tag:animation*//**/"Animation1"/**/].start();
near the bottom. You can add parameters to this command to influence the speed of the animation.
- object.animations[/** \nAnimation: *//***tag:animation*//**/"Animation1"/**/].start(SPEED_TYPE_DURATION, getvarnode(current, "cycletime").evaluate()/3);
will set the speed will set the speed so the animation can run exactly 3 times during the process time of the processor.
More info in the documentation:
8 People are following this question.
