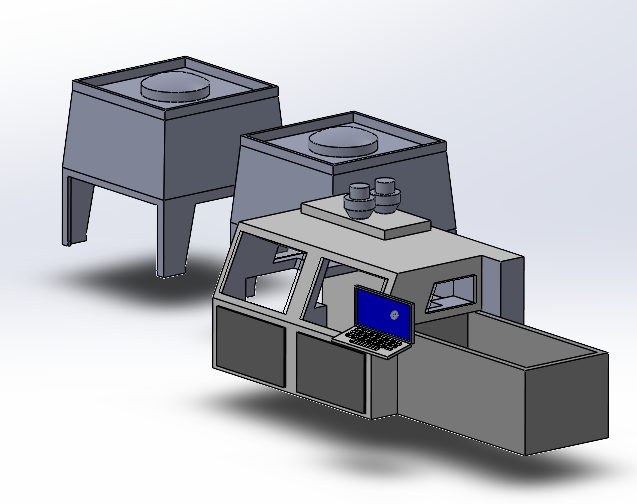
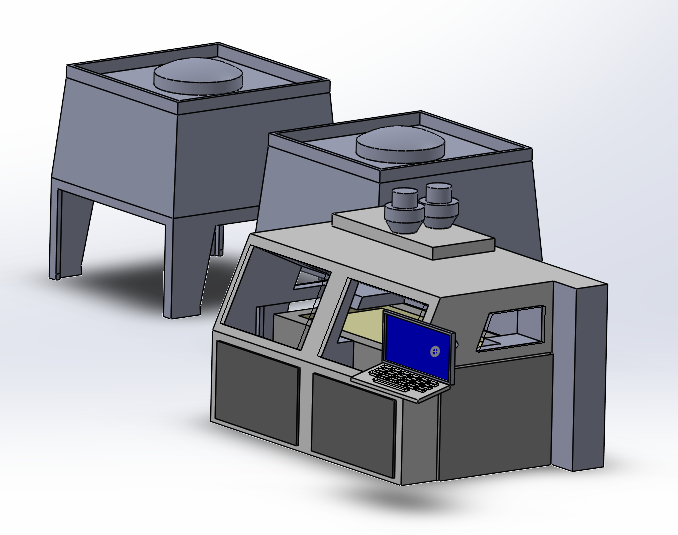
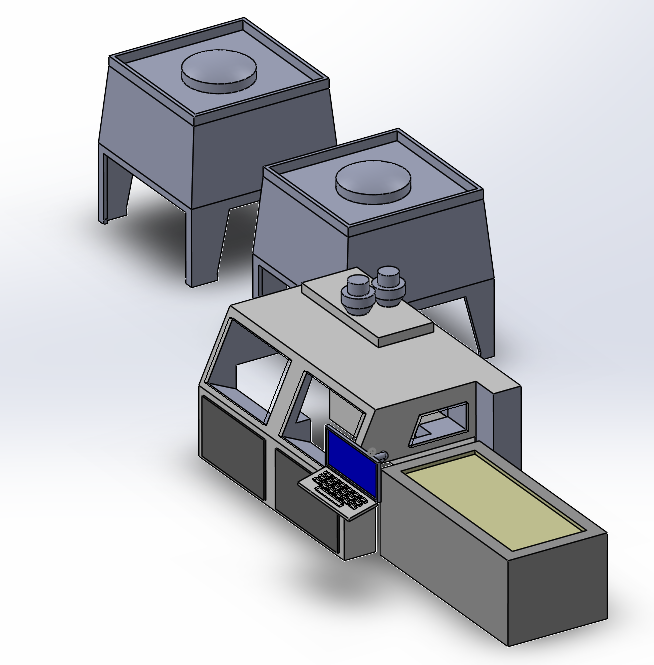
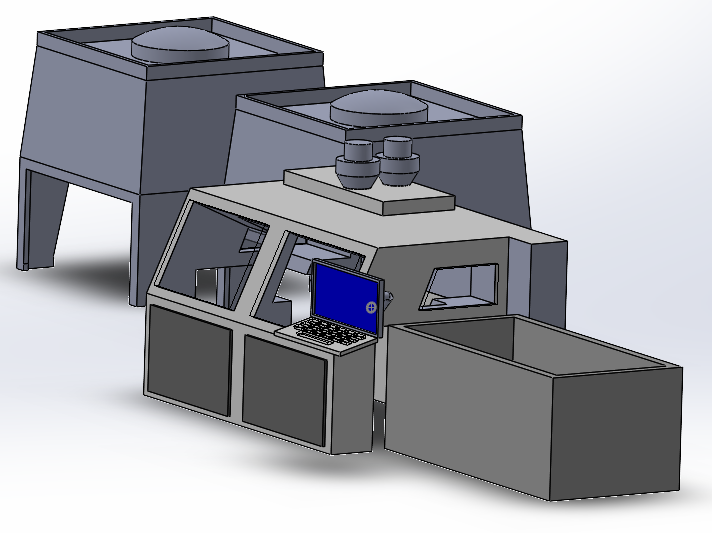
I'm trying to make a model that represents the 3D sand casting process. I have tried, but it was very hard for me to make the animation. The STL file for the machine and the empty bed and filled bed are attached. First, I want to make the machine unloaded as shown in figure started started.png, then the machine will process as shown in figure in_progress in_progress.png, then we have the machine finish as shown in figure finished finished.png and will remain like that until task executer pick it up unloaded.png as shown above. The STL files are here: 3dsp_machine.wrl embty.wrlfilled.wrl
The first step with adding custom shapes is always to add it as the visual appearance of an object and resize/rotate it to properly fit inside the bounding box using the shape factors.
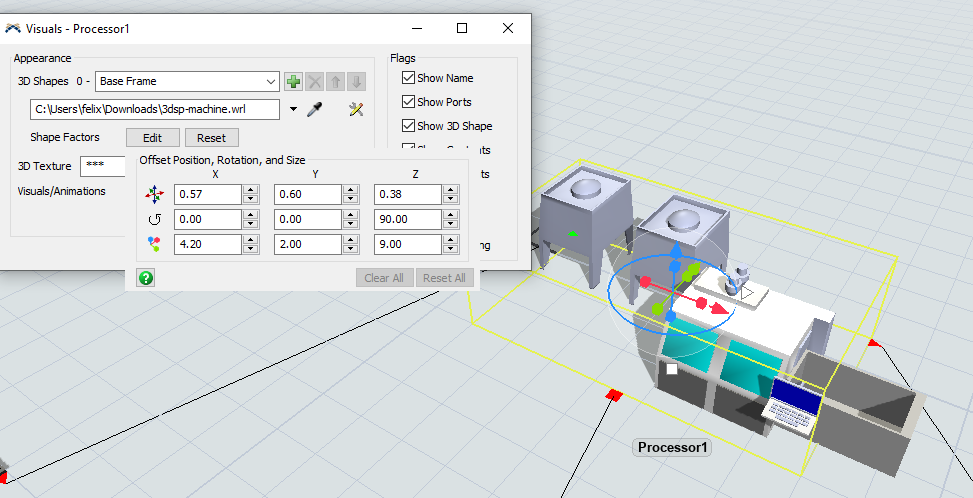
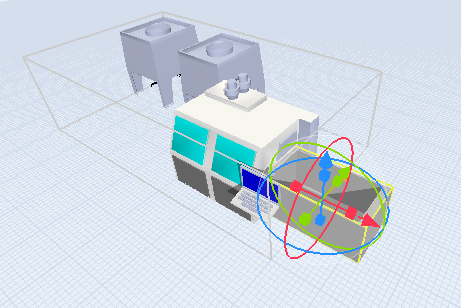
In the animation window (More Visuals -> Visuals/Animations -> Edit or Right click -> Edit -> Animations) add the object that should move as part of the animation as a component object.
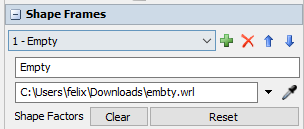
In this case I also set it up with different frames, so it can appear both empty and filled, depending on which frame is currently active.
Then you add a new animation in the controls at the bottom. Position the object how it should appear at the start of the animation and add a keyframe to the timeline at 0s.

Then move the object and add keyframes to other times to set the location of the object at those times. FlexSim will interpolate the position inbetween keyframes.
Repeat this process so you have one animation where the trough enters the machine and one where it exits. Finally you should also set the reset position of the object.  After you have defined the animations you can start them via the "object.animations[].start()" command, for example in the triggers of the object.
"setframe()" can be used to switch between the empty/filled appearance of the trough.
In the attached I added the animations to a processor so it's basic functiality can still be used. As such I move the flow item into the 3d shape in the entry trigger to hide it.
I changed the shapes to .fbx which import the bounding boxes better.
Then it's just question of adding the animations to the animation editor and adding key frames - it's only 10 minutes work.
16 People are following this question.
