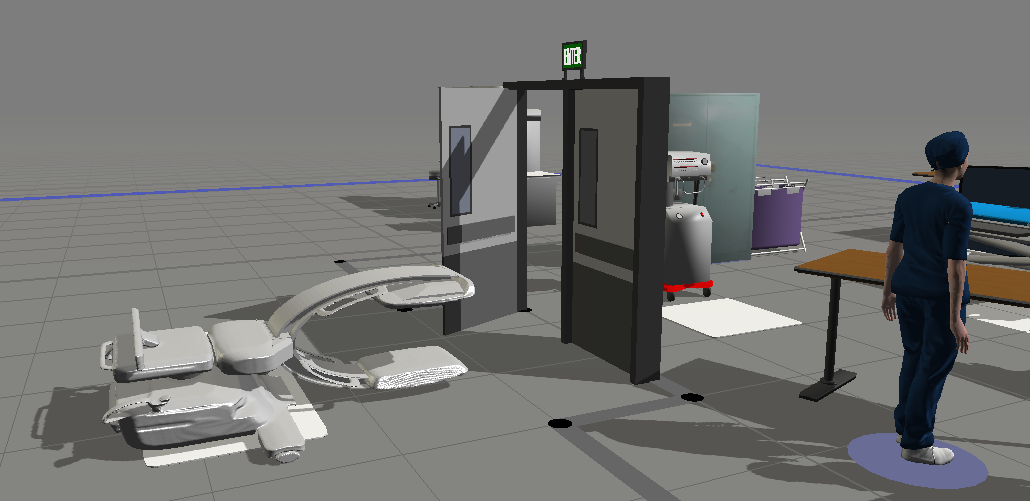
12_12_prop.fsmI imported an object 3D model (labeled as "Cios Arm") and adjusted its orientation. This object is moved using the "move equipment then process" activity set. Once the staff comes to move it, it reverts back to the orientation it was imported in. How do I fix the position so that it always maintains the starting orientation I set it at?
Imported Object changing Orientation During "Move Equipment" Activity
FlexSim 22.2.2
You need to adjust the rotation of the shape in its Shape Factors instead of setting its rotation in the scene. 12-12-prop_2.fsm
Now I am still having a similar issue. I imported an object 3D model (labeled as "Cios Arm") and did not adjust the default position it was imported in. This object is moved using the "move equipment then process" activity set. Once the staff comes to move it, it goes to some other orientation. When I use the "more visuals" & edit "shape factors" (as instructed above) I can't get it to have the correct starting or ending orientation and sometimes the actual shape becomes distorted in the model. In the attached model, the starting orientation is what I want the object to maintain at all times in the simulation. What am I doing wrong? Thank you! 12_14_assembly.fsm
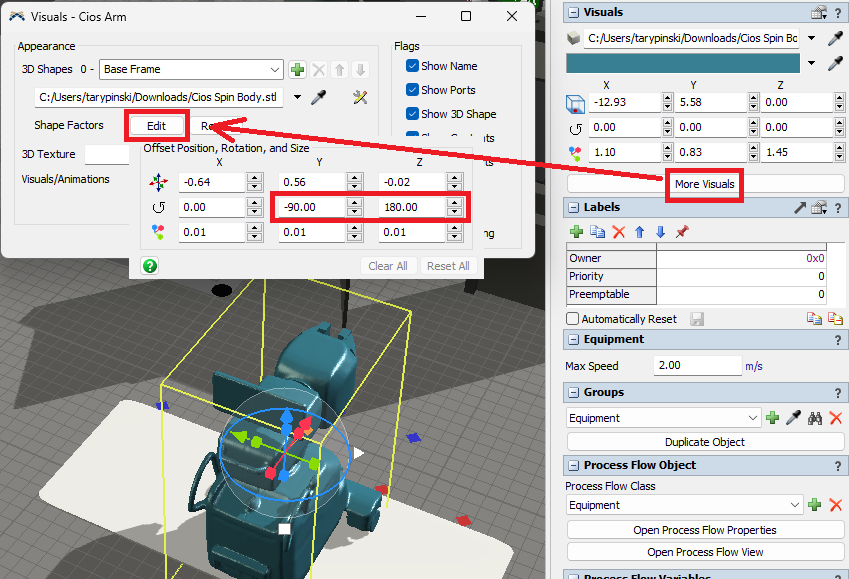
@tr_simulation Here are the steps I did to set the Shape Factors for the Cios Arm object:
First, get the object's yellow box to be the correct size and rotation. In the object's Properties:
- Reset the rotation to 0,0,0
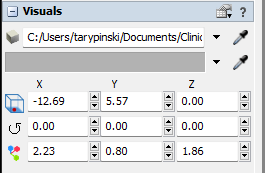
- Set the size to 2.23, 0.8, 1.86
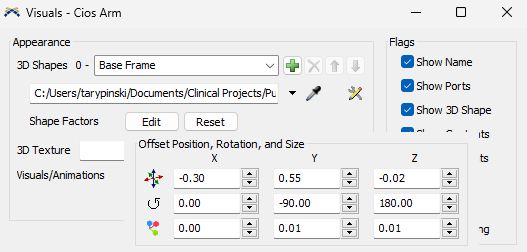
Second, adjust the shape factors so that the shape is rotated and positioned correctly inside the yellow box. In More Visuals -> Edit Shape Factors:
- Set the rotation to 0, -90, 180
- Set the location to -0.3, 0.55, -0.02 (I just played around with these numbers until they looked good)
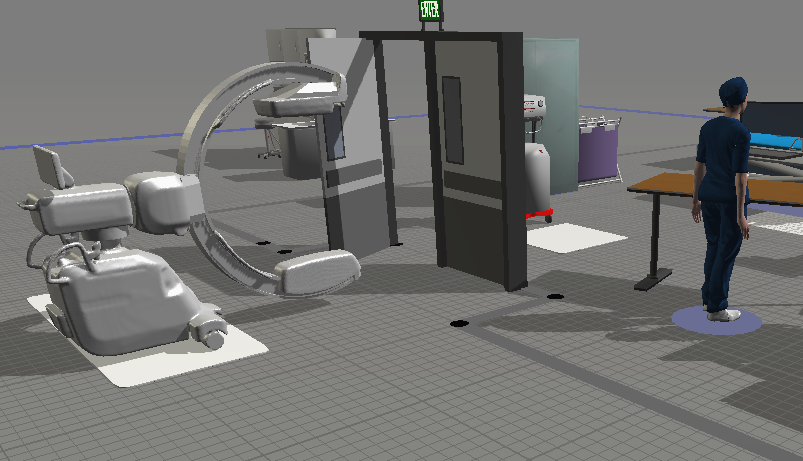
Ok, when I open an earlier version of my model and follow your steps exactly, it works. But, I still have the issue of when I follow your steps the object takes on a squashed appearance. Do you know why that is happening? See images. Thank you! Reg_Cios.PNGSquashed_Cios.PNG
13 People are following this question.