I would like to make the item enter in the thicker conveyor along the edge before it hits the decision point, where the flow item will then rotate 90 degrees. Is there a way to do that?
I took some screen shots:
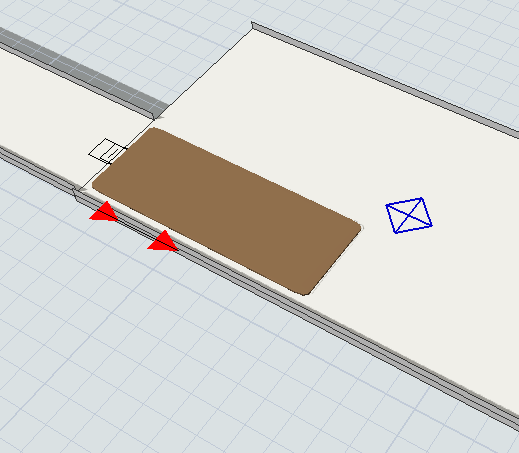
How it is right now:
![]()
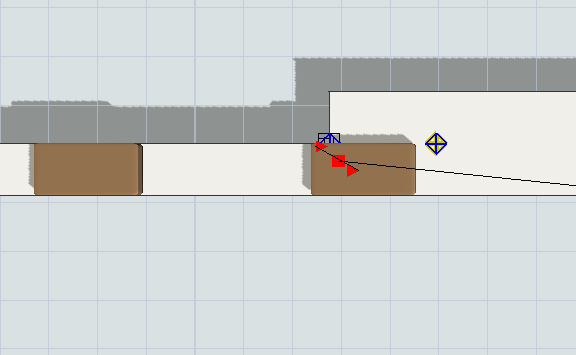
![]()
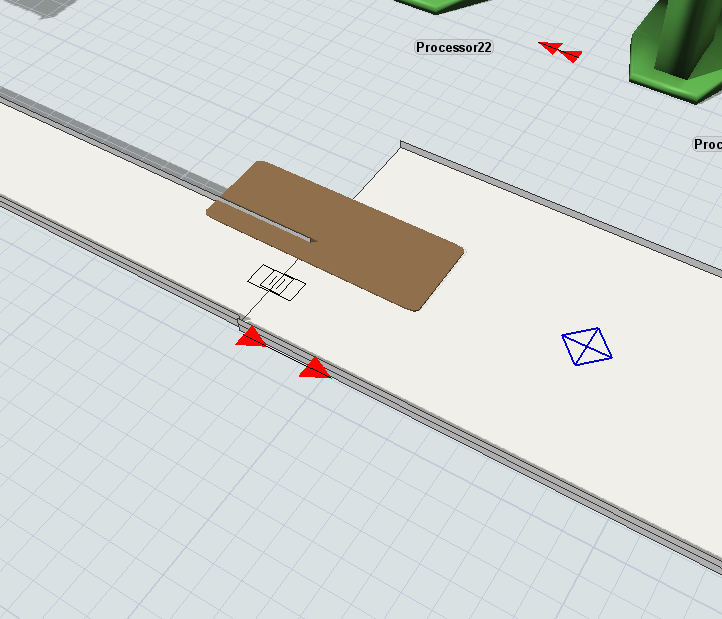
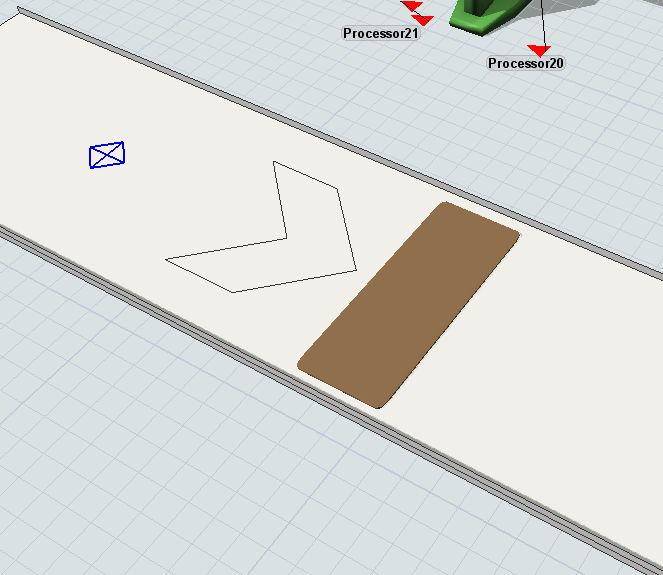
How it should be
I would like to make the item enter in the thicker conveyor along the edge before it hits the decision point, where the flow item will then rotate 90 degrees. Is there a way to do that?
I took some screen shots:
How it is right now:
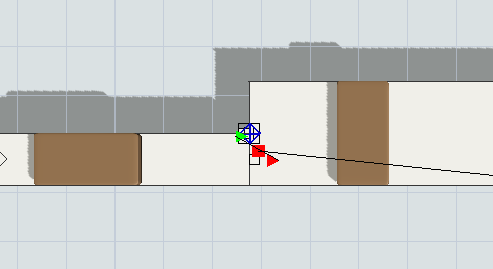
![]()
![]()
How it should be
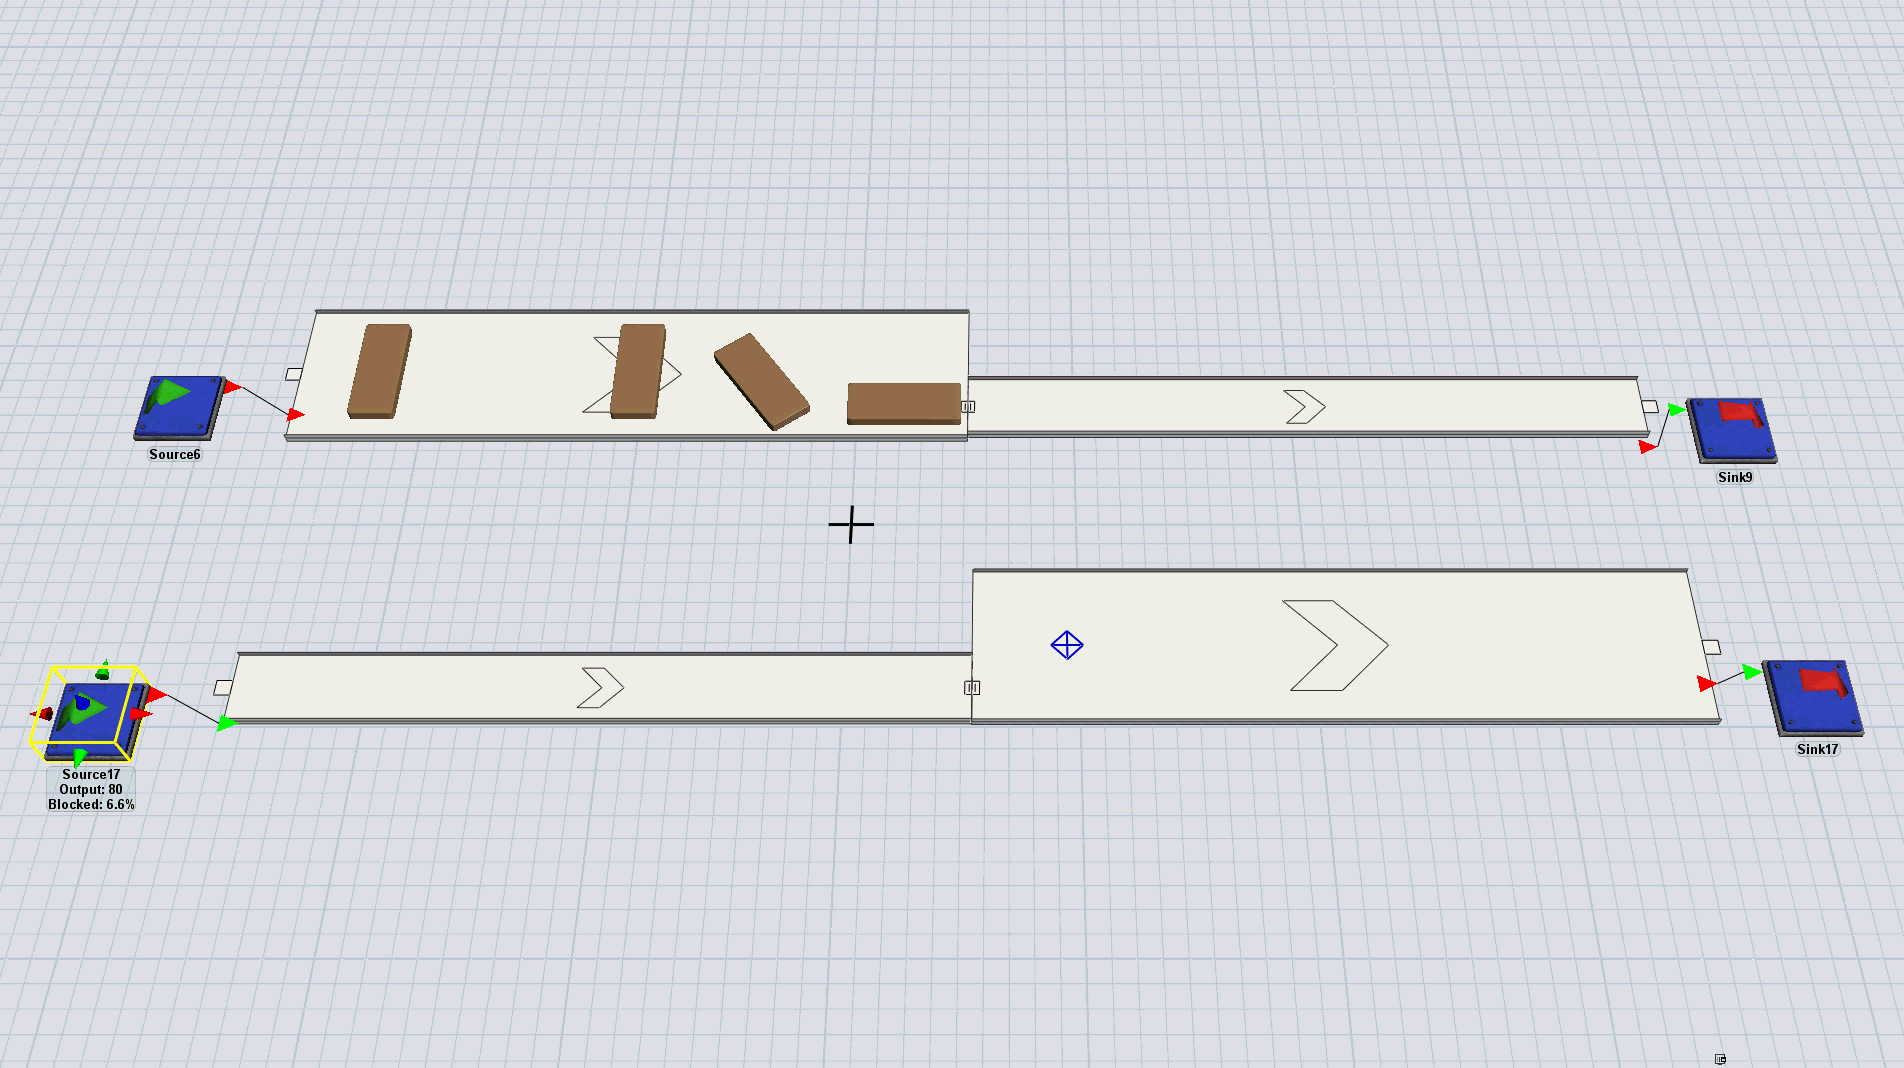
A decision point has picklist options for "Movement" that allow you to add kinematic movement and rotation to your flowitem. You can even choose the point of the object you want to rotate around.
I first built this model by rotating around the center of the object and then translating it to the side of the conveyor. (Both can be done at the same time) After looking at it further, however, I decided to remove the translation and have the item rotate around the front right corner. As you noticed, the flowitem will keepconveyor-transition-rotation-and-translation.fsm it's location when it goes from one conveyor segment to the next. I think that this is a feature because it keeps the items flowing smoothly.

From what I understand your question to be is a flowitem going from the narrow conveyor to the wider conveyor and having the flowitem stay in the same location on the wider conveyor as it is on the narrow conveyor until it has cleared the flowitem length.
With that in mind, here is what I did in the attached model. By default, the "Box" flowitem does not have the "offset" nodes, which it does not normally need. But in this case I added them so that the flowitem going from the narrow conveyor to the wider conveyor will look to have the same position. To add them to the Box flowitem, in the FlowItem Bin, while the Box is highlighted, press the Properties button at the bottom left side of the screen. Then on the General tab, click the Edit button next to the Shape Factors, then click the OK button at the bottom on the Properties window. This should add the "offset" nodes as you can see in the 3rd tab of the main window (Tools/lowItemBin/Box/Box).
In the model, in DP1 in the On Arrival code area, I added a Code Snippet to change the Y offset of the flowitem. This makes it appear at the bottom part of the wider conveyor. Then in DP2, in the On Arrival code area, first I reverse the code from DP1. Then I rotate the flowtiem in the second block of code.
I believe that this is what you are looking for? If not, please let me know.
Here is the model:
6 People are following this question.
FlexSim can help you understand and improve any system or process. Transform your existing data into accurate predictions.
FlexSim is a fully 3D simulation software environment. FlexSim can be used to simulate any process in any industry.
FlexSim®, FlexSim Healthcare™, Problem Solved.®, the FlexSim logo, the FlexSim X-mark, and the FlexSim Healthcare logo with stylized Caduceus mark are trademarks of FlexSim Software Products, Inc. All rights reserved.
May we collect and use your data?
Learn more about the Third Party Services we use and our Privacy Statement.May we collect and use your data to tailor your experience?
Explore the benefits of a customized experience by managing your privacy settings for this site or visit our Privacy Statement to learn more about your options.